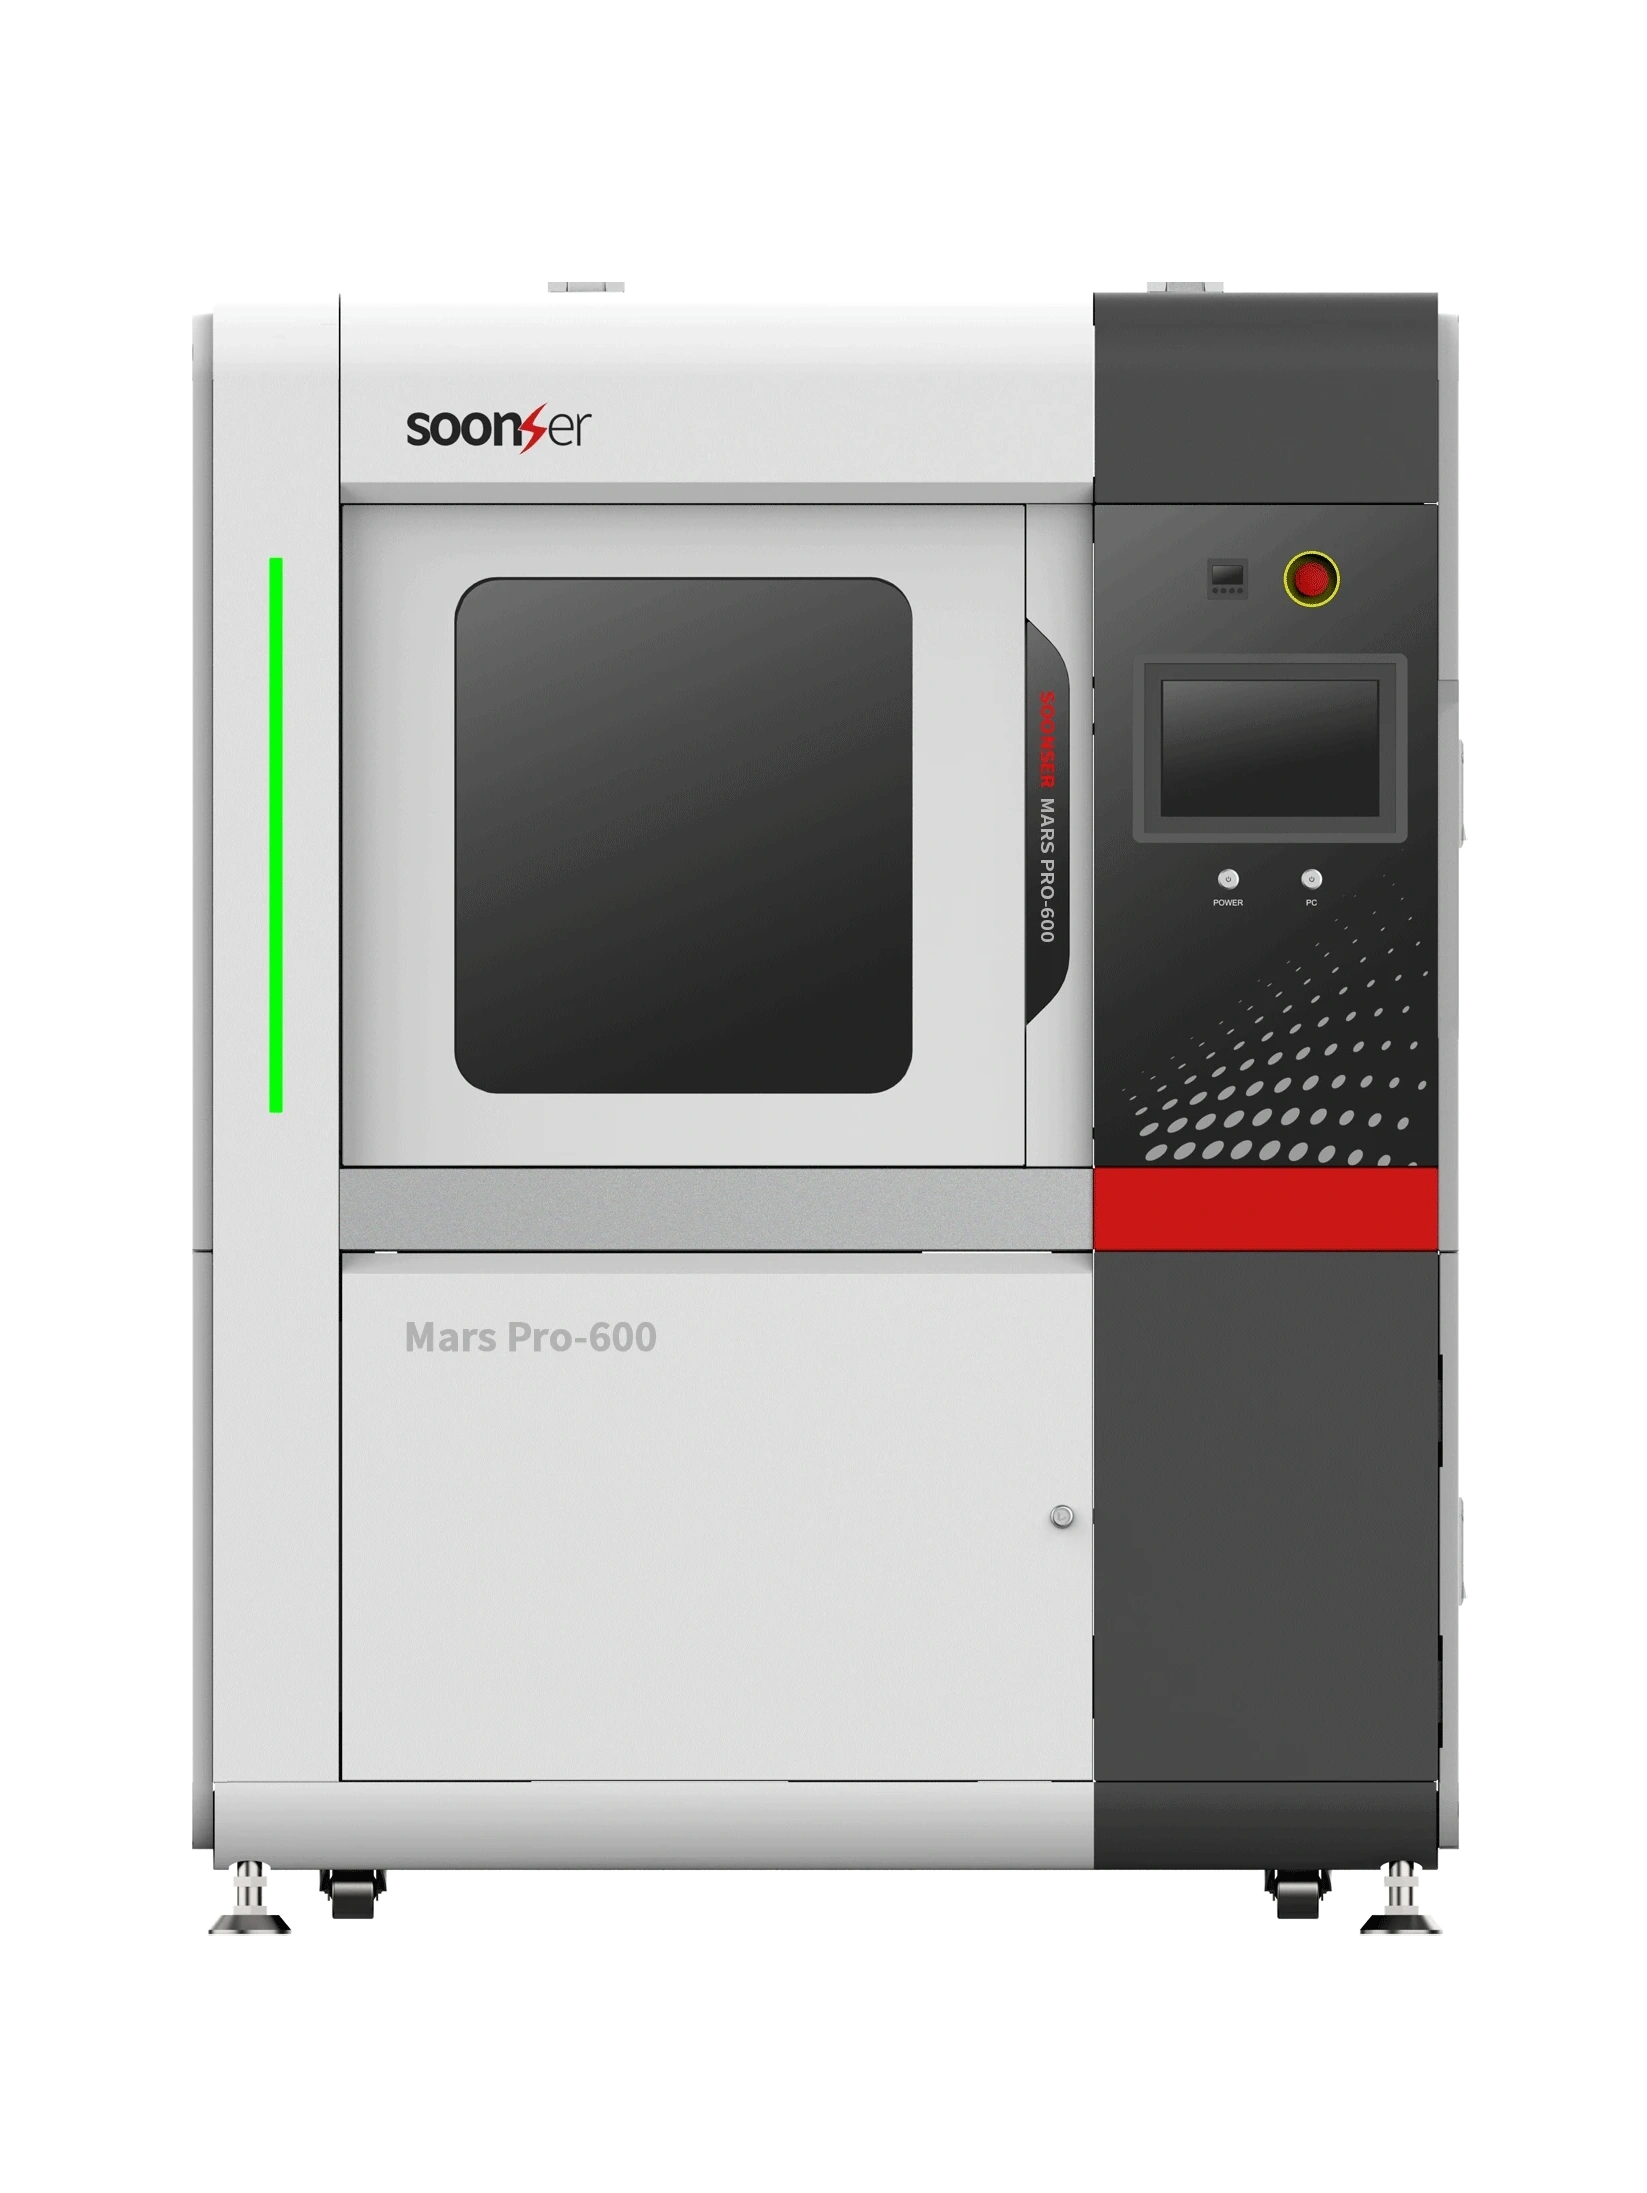
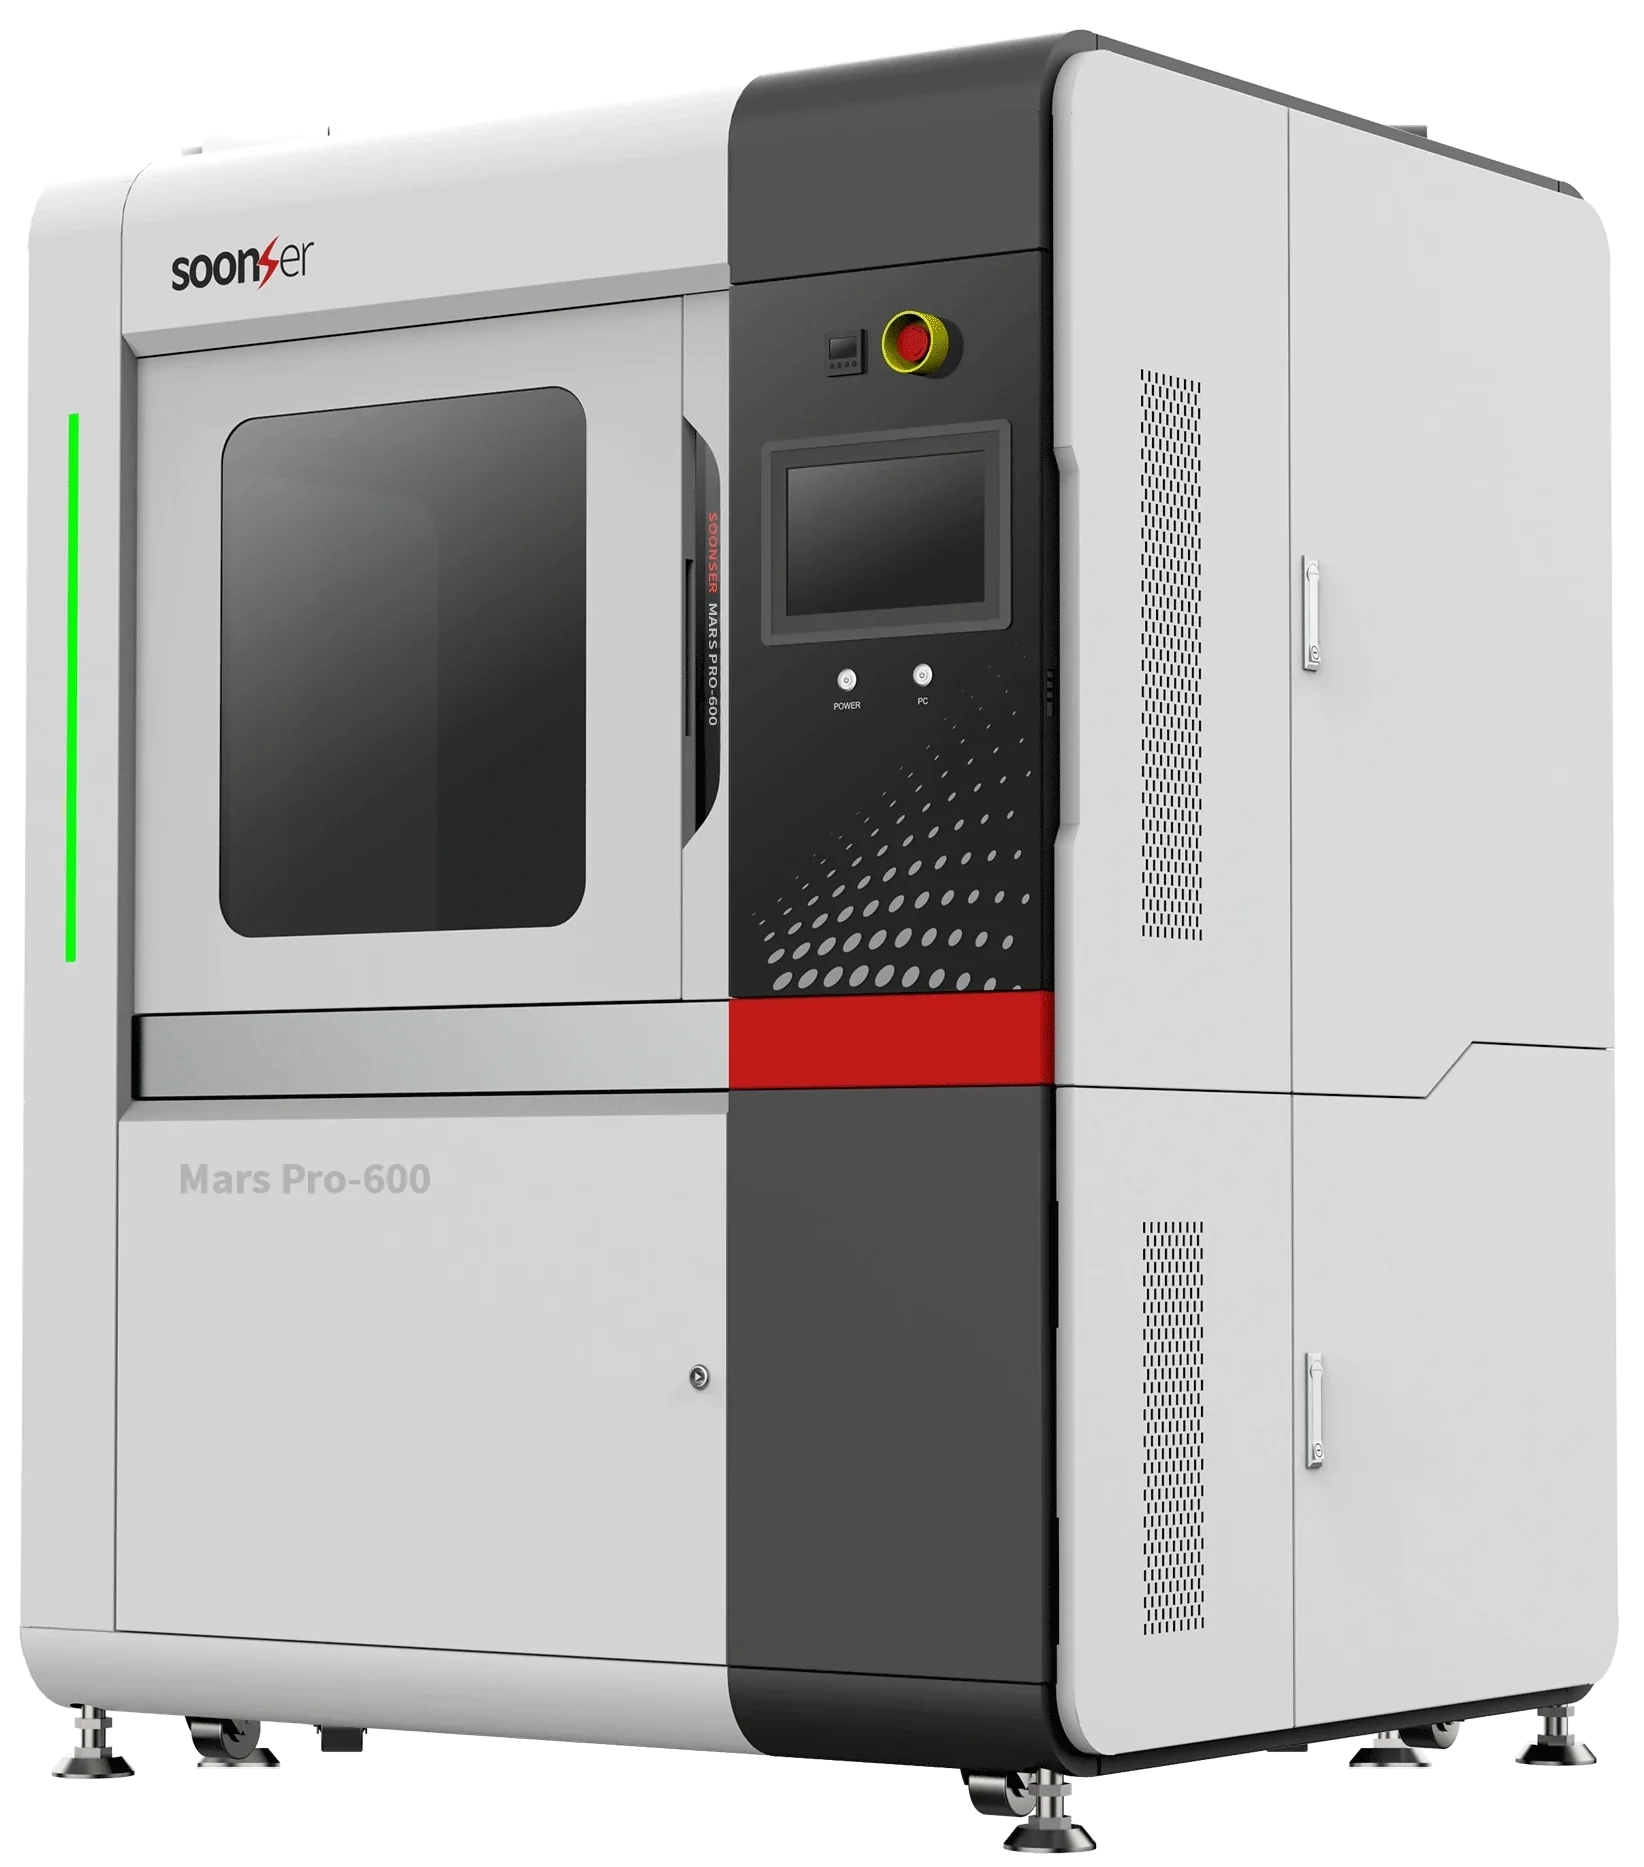
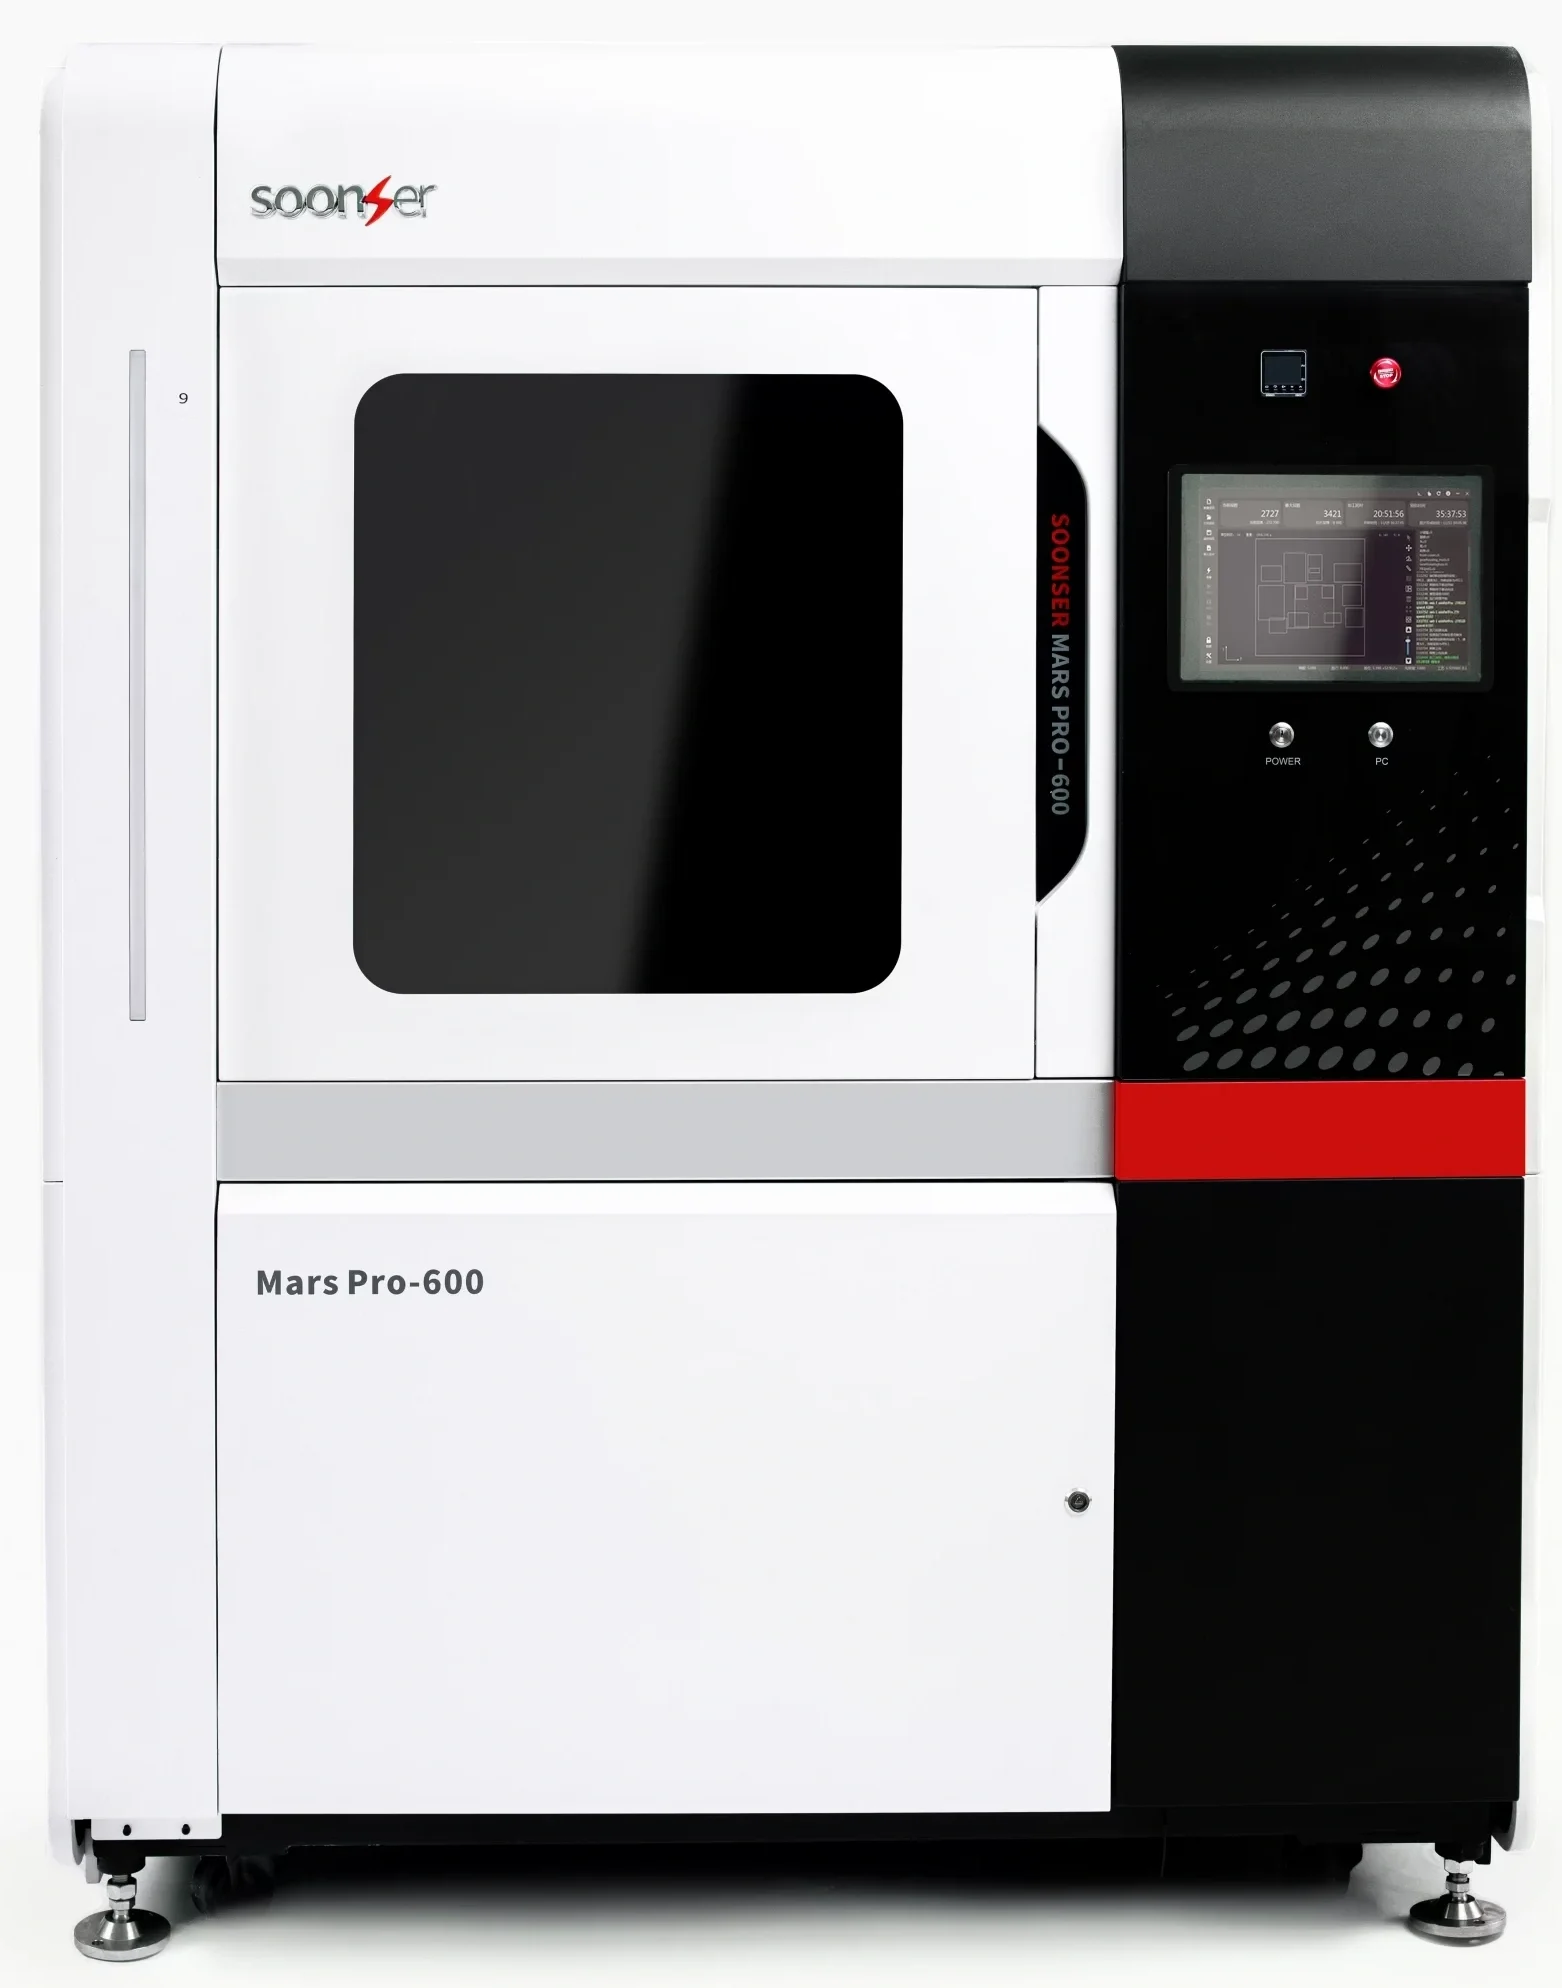
| Build Area | 600 × 600 × 400 mm (24 × 24 × 16″) |
| Accuracy | ±0.001″ (L < 1″), ±0.1%L (L ≥ 4″), ±0.1 mm (L < 100 mm), ±0.1%L (L ≥ 100 mm) |
| Spot Size | 0.08 – 0.80 mm (Vario Scan) |
| File Formats | STL, .SLC, .CLI |
| Printer Dimensions | 1520 × 1320 × 1970 mm (59.8 × 52 × 77.6″) |
| Printer Weight | 1000 kg (2200 lbs) (without resin) |
| Power Requirements |
200-240 VAC, 50/60 Hz, Single Phase, 2.5 kW

|

Advanced Industrial SLA Technology – A high-speed, ultra-precise 3D printing solution designed for large-scale production.

Reliability & Longevity – Built with premium components from industry leaders like Schneider, Omron, and Delixi for unmatched durability.

Seamless Integration – Fully compatible with standard industry workflows, optimized for high-efficiency production environments.

Trusted by professionals in engineering, aerospace, medical, and manufacturing industries.

Produce durable, high-precision components for functional testing and lightweight production parts.

Rapidly create custom jigs, fixtures, and end-use components using industrial-grade materials.

Print biocompatible parts, prosthetics, and intricate surgical models with exceptional accuracy.

Develop high-fidelity prototypes and short-run production parts with superior surface quality.
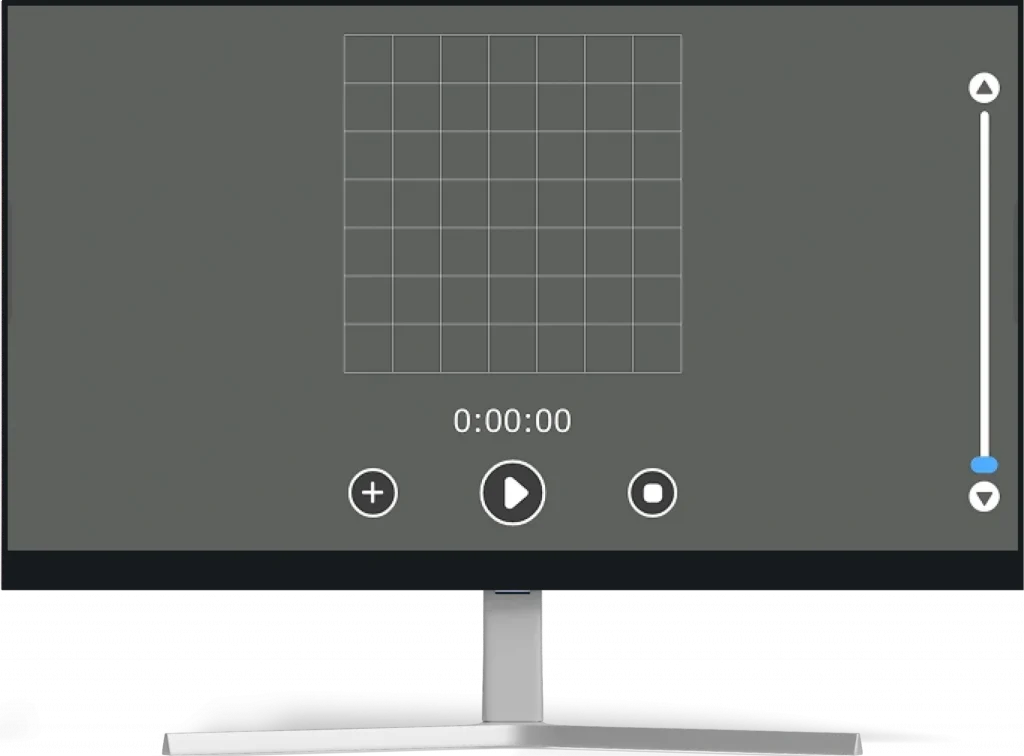
The main interface mainly includes the left menu bar, the bottom shortcut toolbar, the two-dimensional display area after model slicing, and the right real-time information display window.
Request For Quote →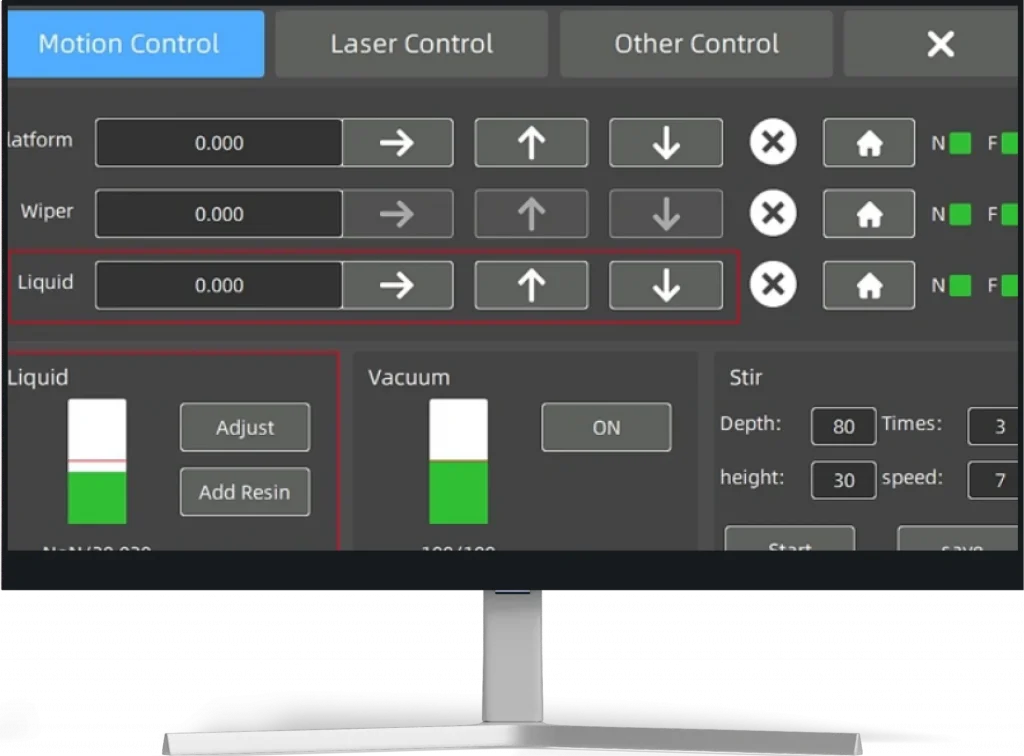
Return Home Calibration : the return home process is an important step for the software to determine the coordinate system. If someone intervenes with the hardware device during the shutdown, be sure to click the return home button
after the next startup to return the system to its original state. In the process of returning to the original system, return the scraper, liquid level slider and grid plate to zero to reposition the hardware.
This interface allows users to monitor and adjust the resin level, control vacuum adsorption, and configure sampling parameters.
Use "Add Resin" to refill, "Resin Level Adjustment" to set targets, and start vacuum or sampling as needed.
All functions help ensure stable and precise conditions before printing.
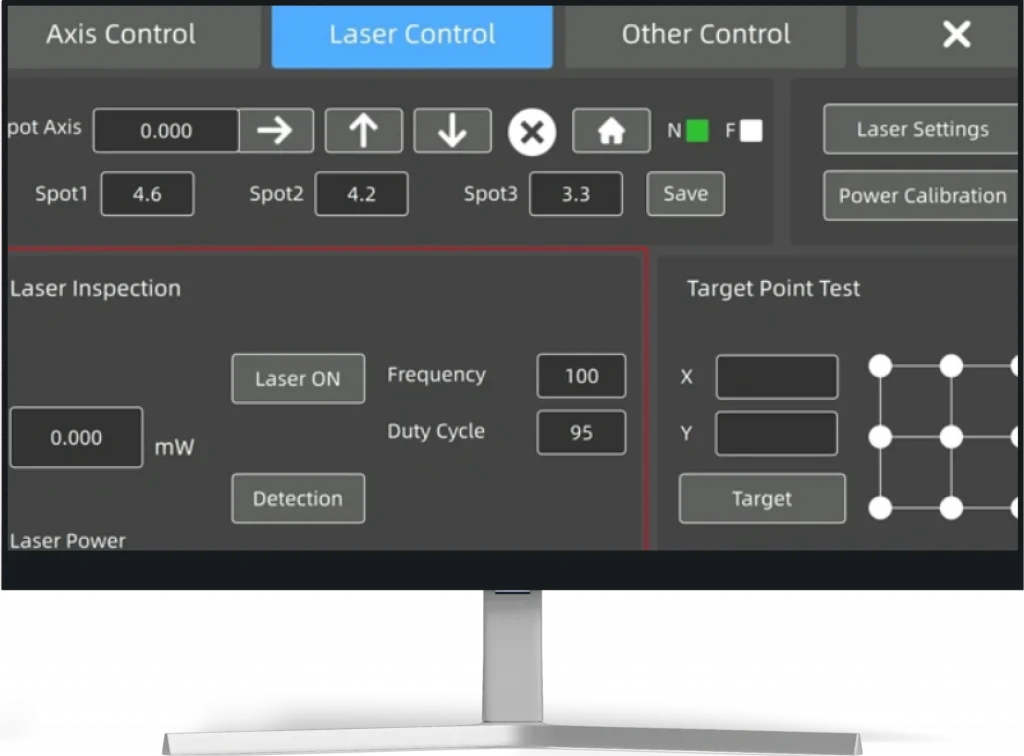
a.The laser frequency is the recommended working frequency in the laser instruction manual, which should be configured according to the laser instruction manual, and should not be changed at will.
b.The value of duty cycle is 0~100%, which represents the percentage of output power and maximum power. The output power can be adjusted by changing the duty cycle.